
- drawing lines (line tool) in rino to the desired dimenions (it helps to phisically draw it out before using CAD)
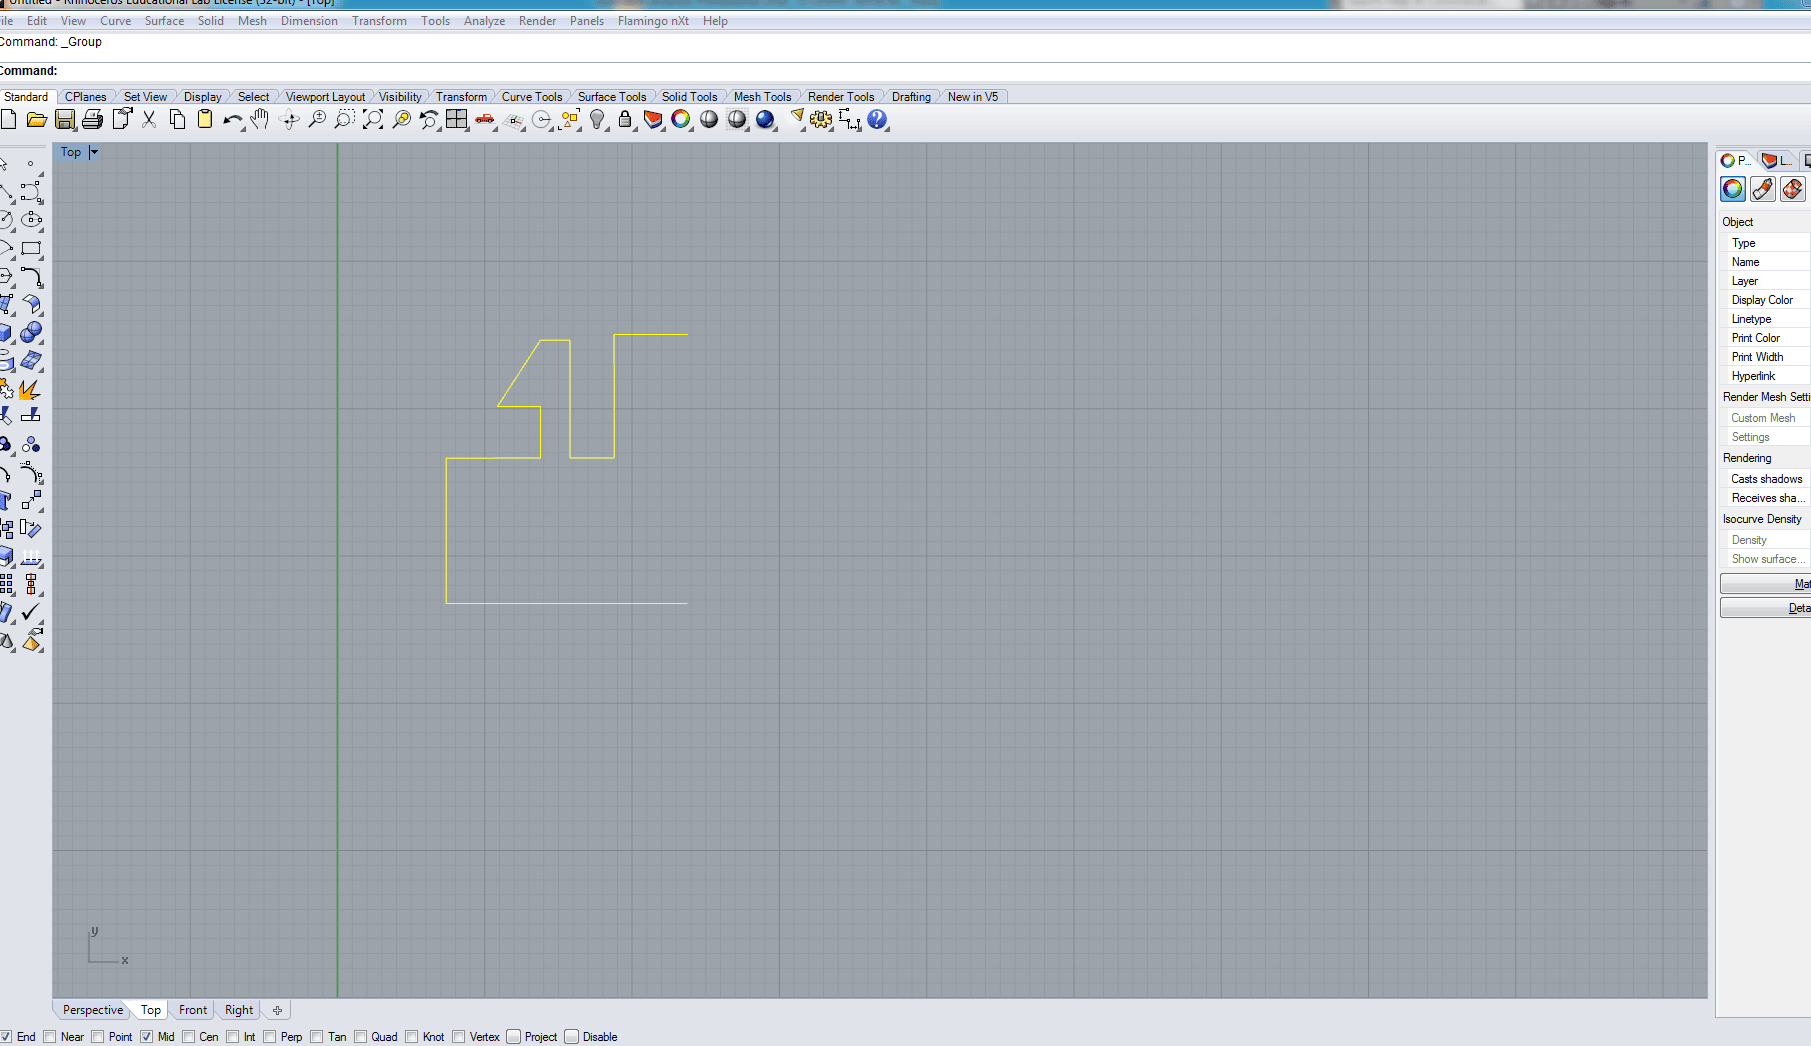
- highlighting the lines and mirroring the lines (type mirror in the command line nad follow the instructions)
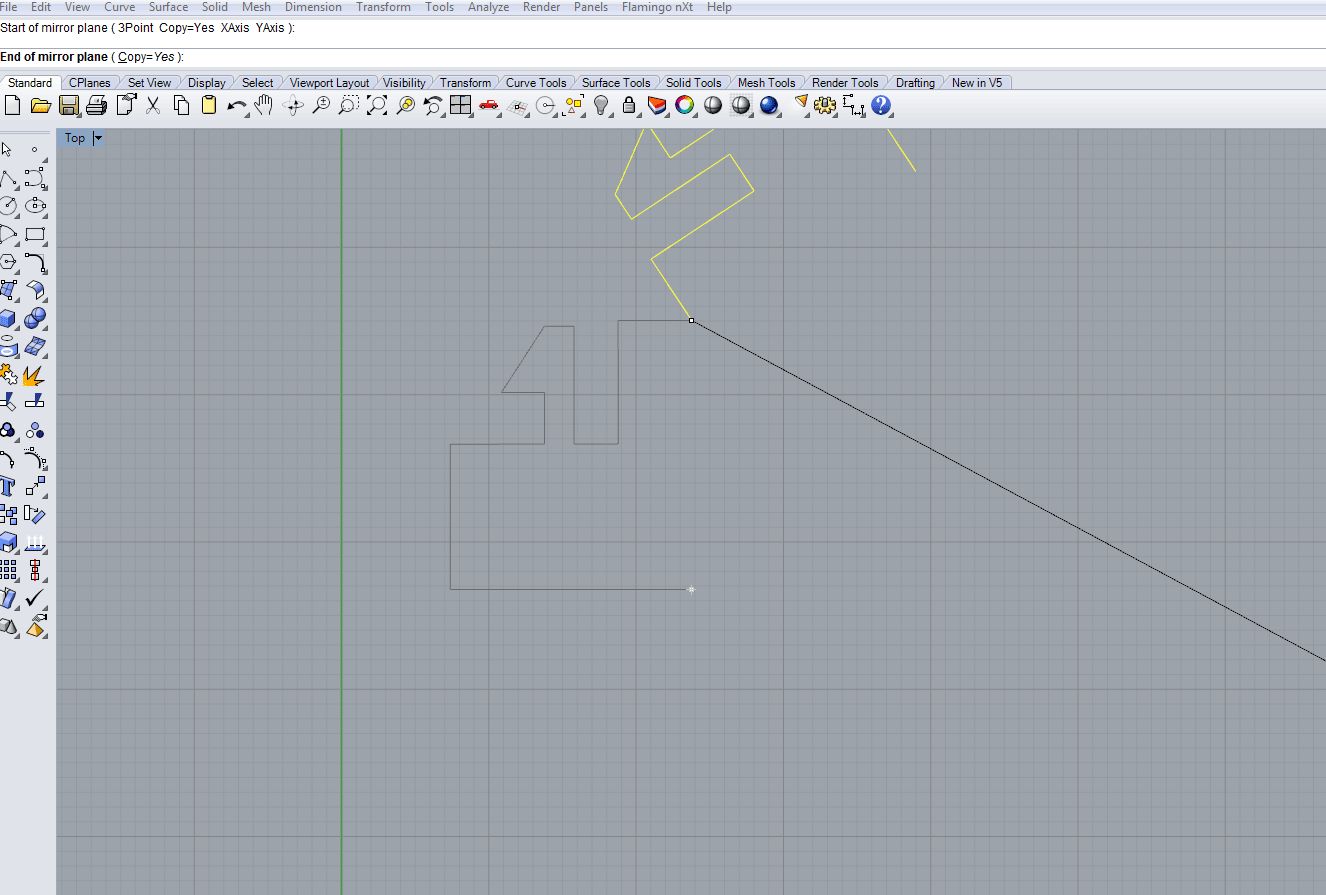 mirror
-

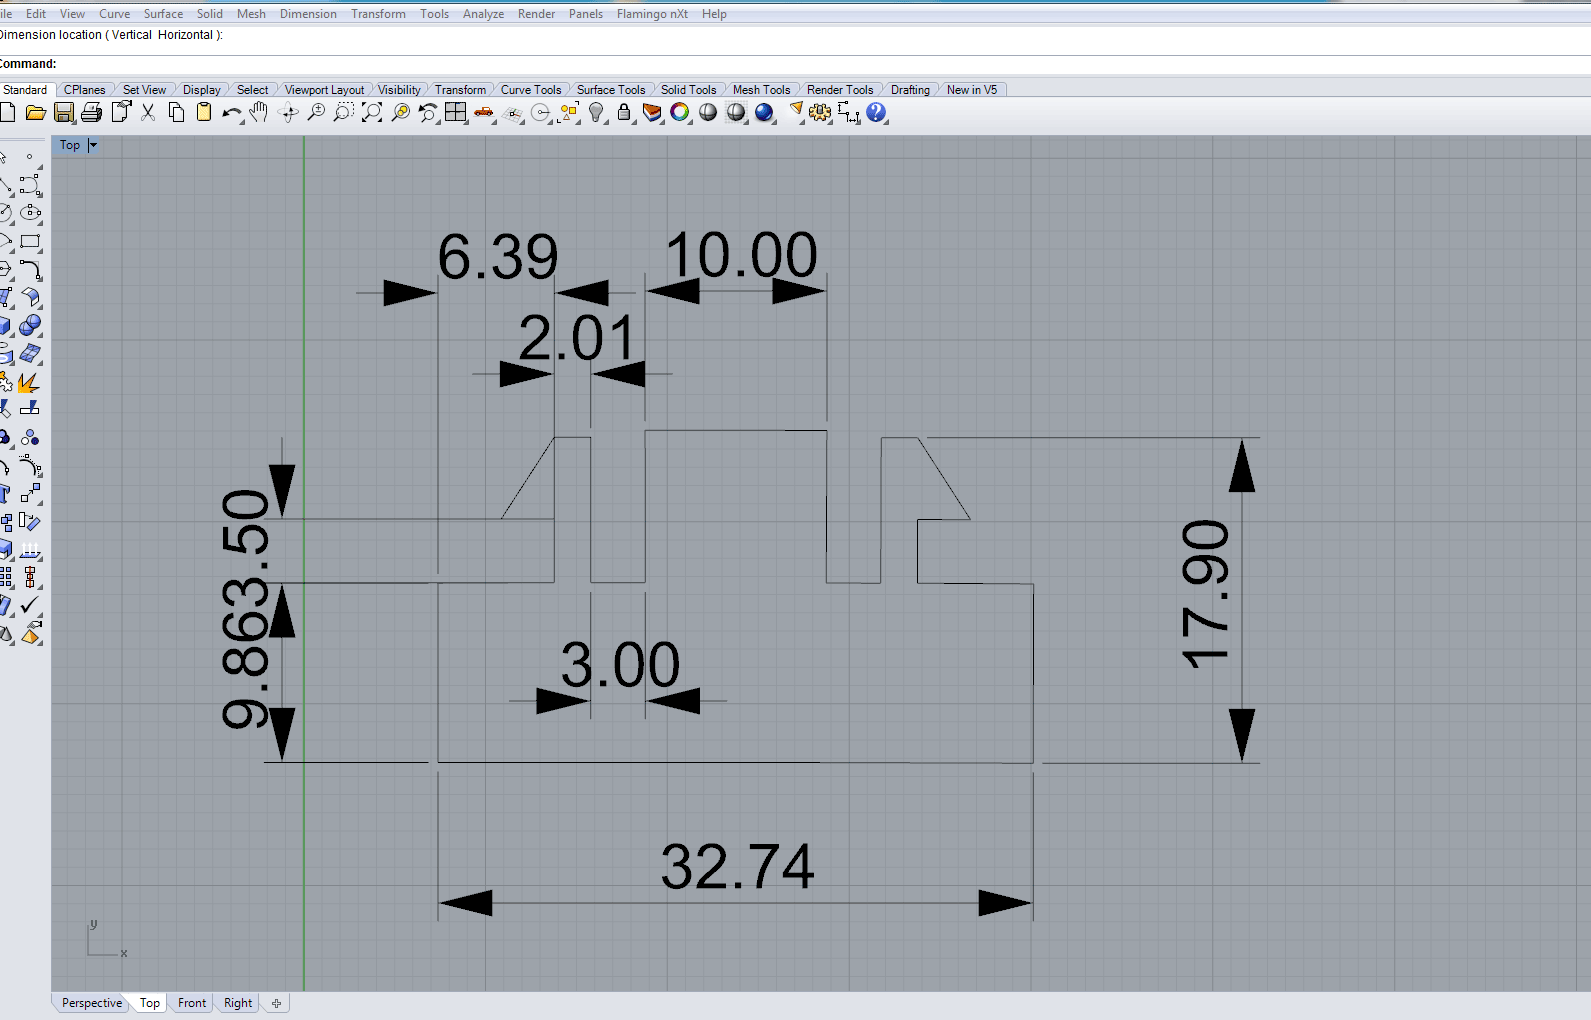
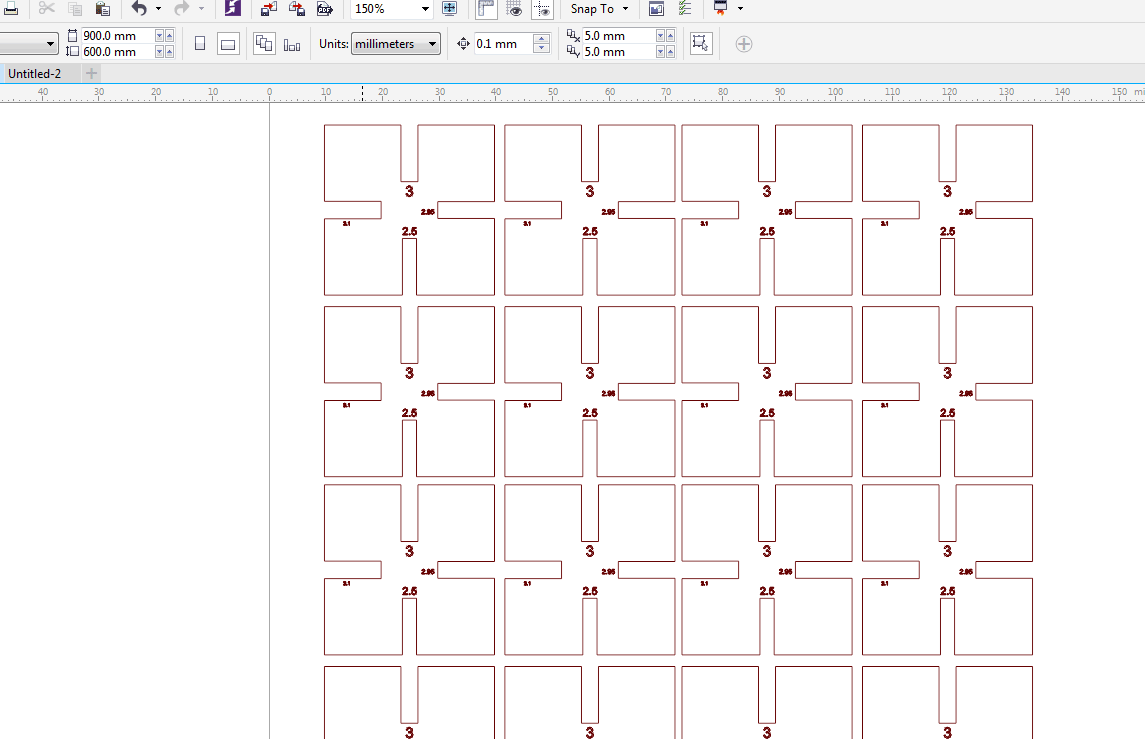
- the dimensions i used
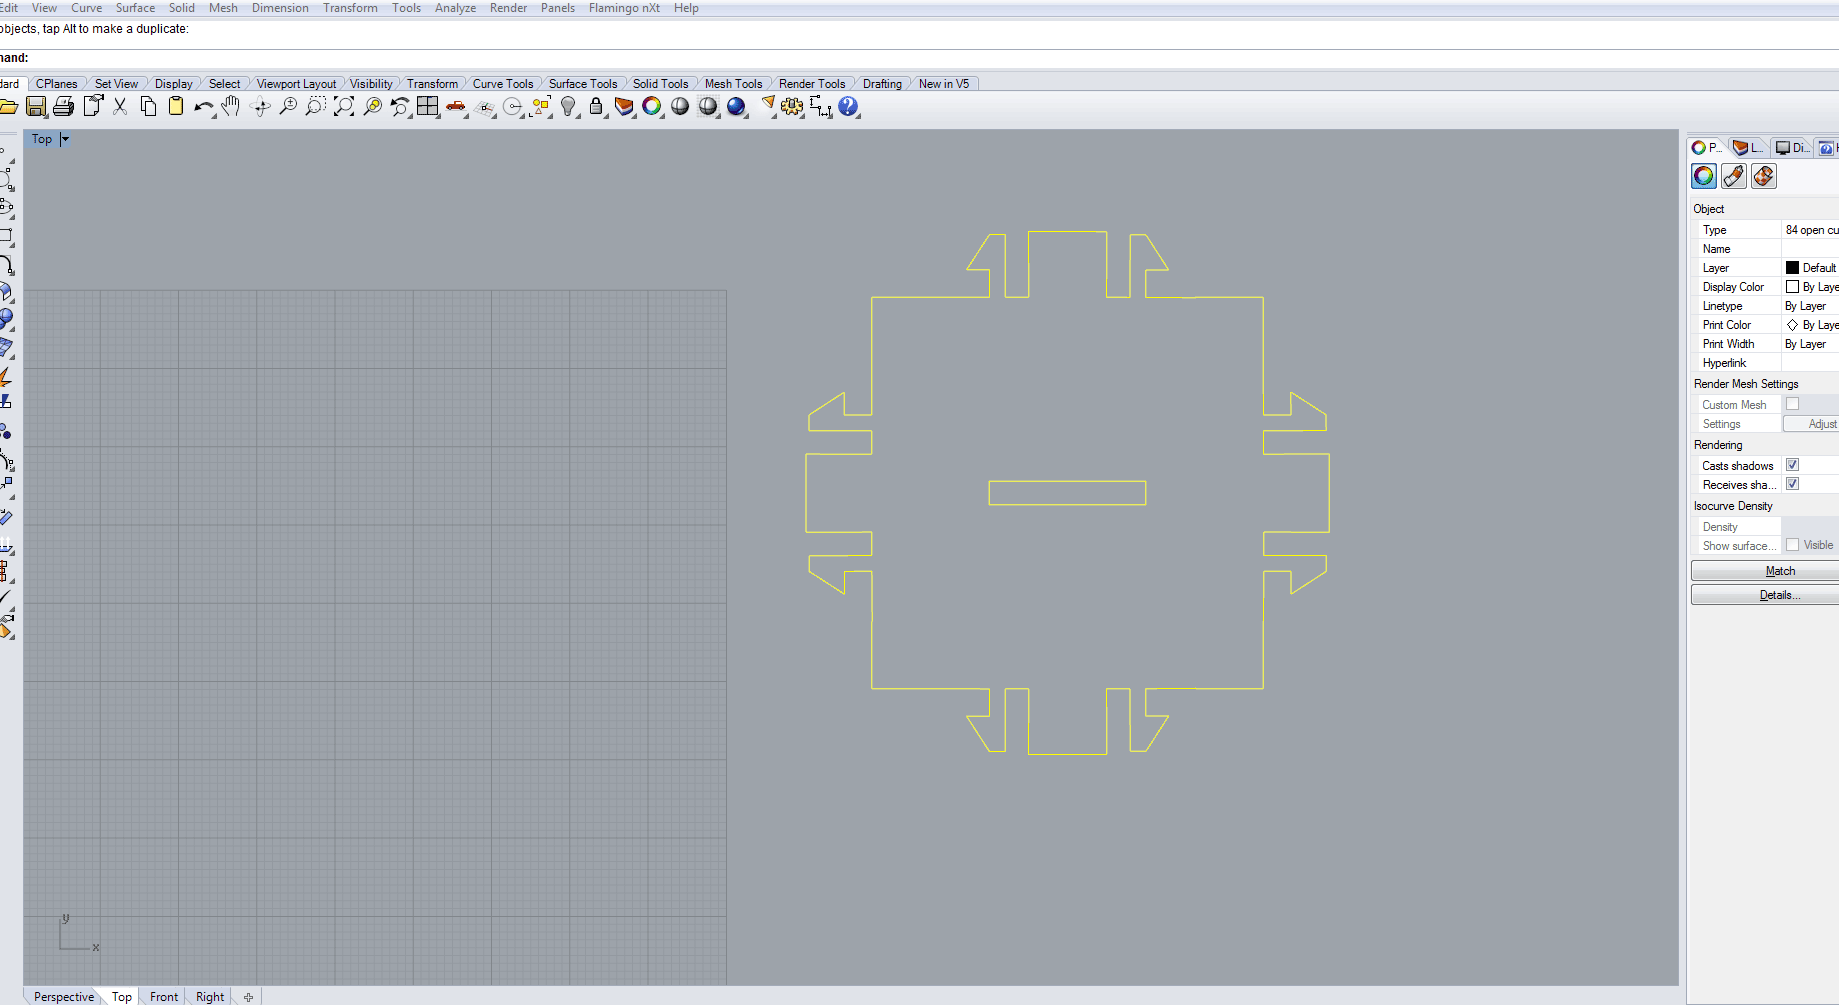
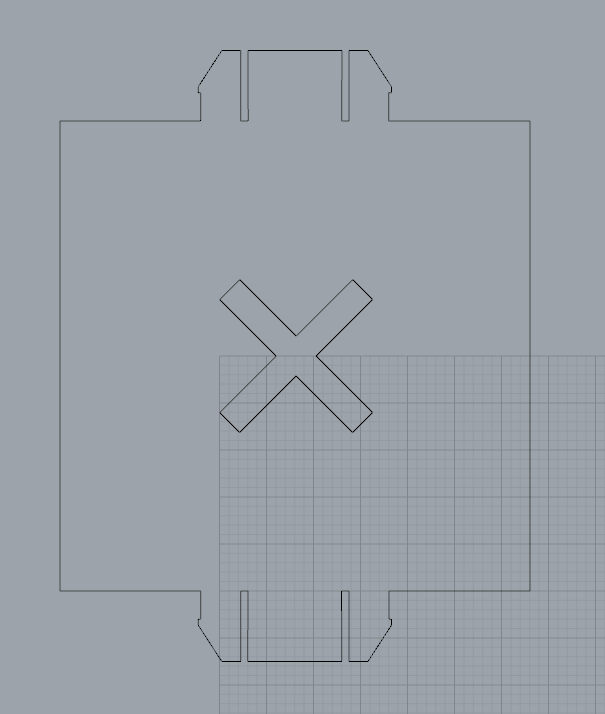
- here i rotated the lines four times (see tutorial further bellow)
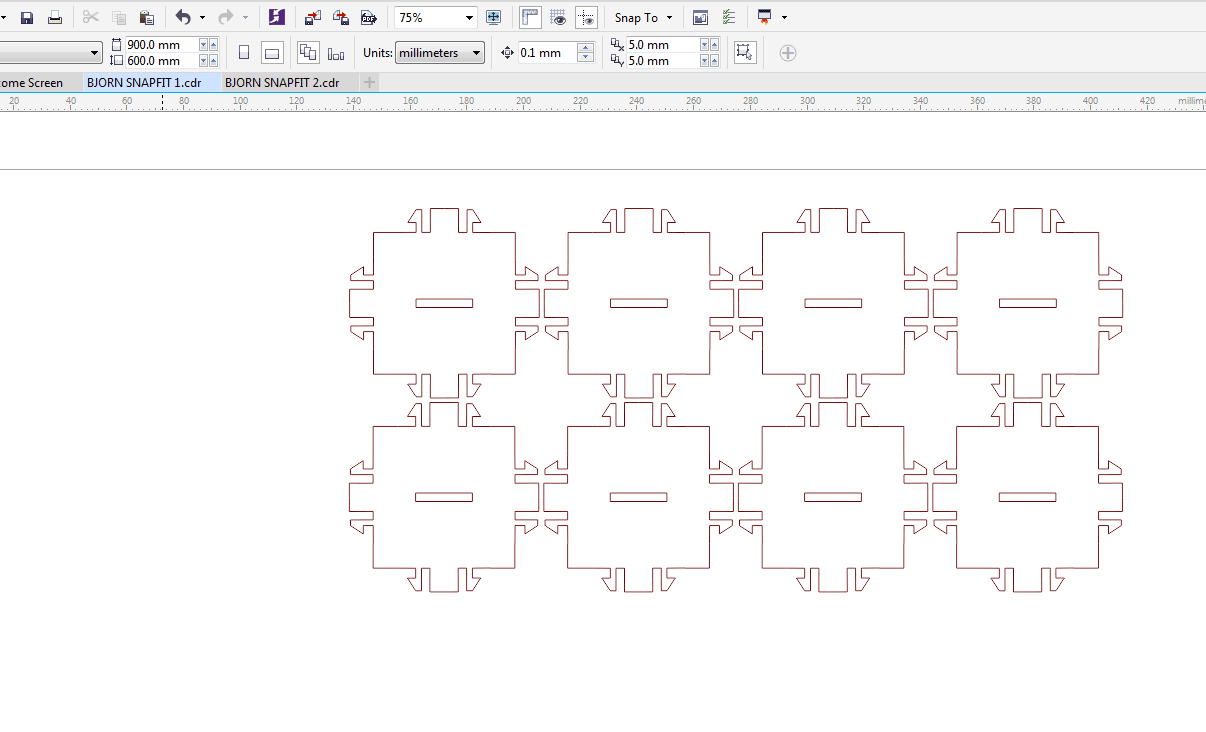
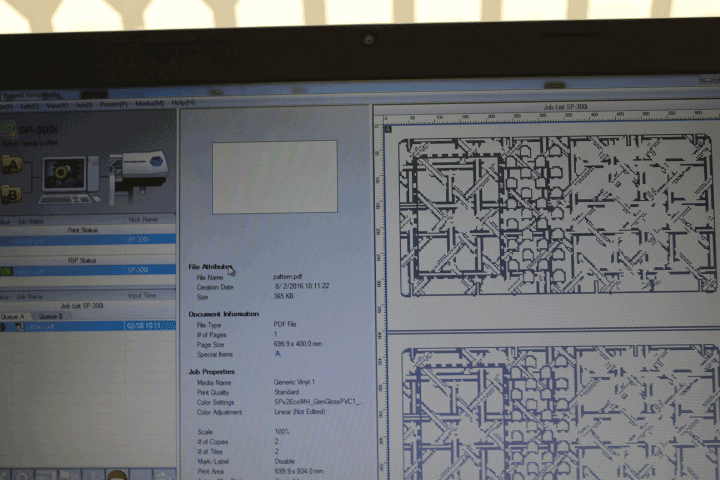
- in correl draw i imported the DXF file to scale and made a small cutting list
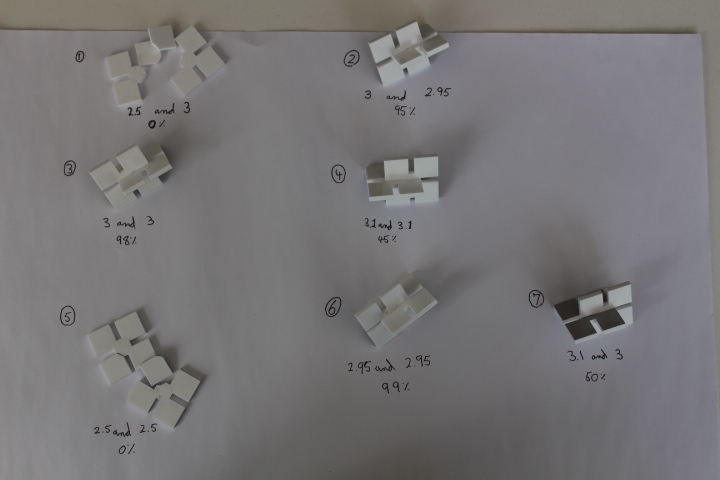
(i made one master "key" with different dimensions for the snap-fit test)
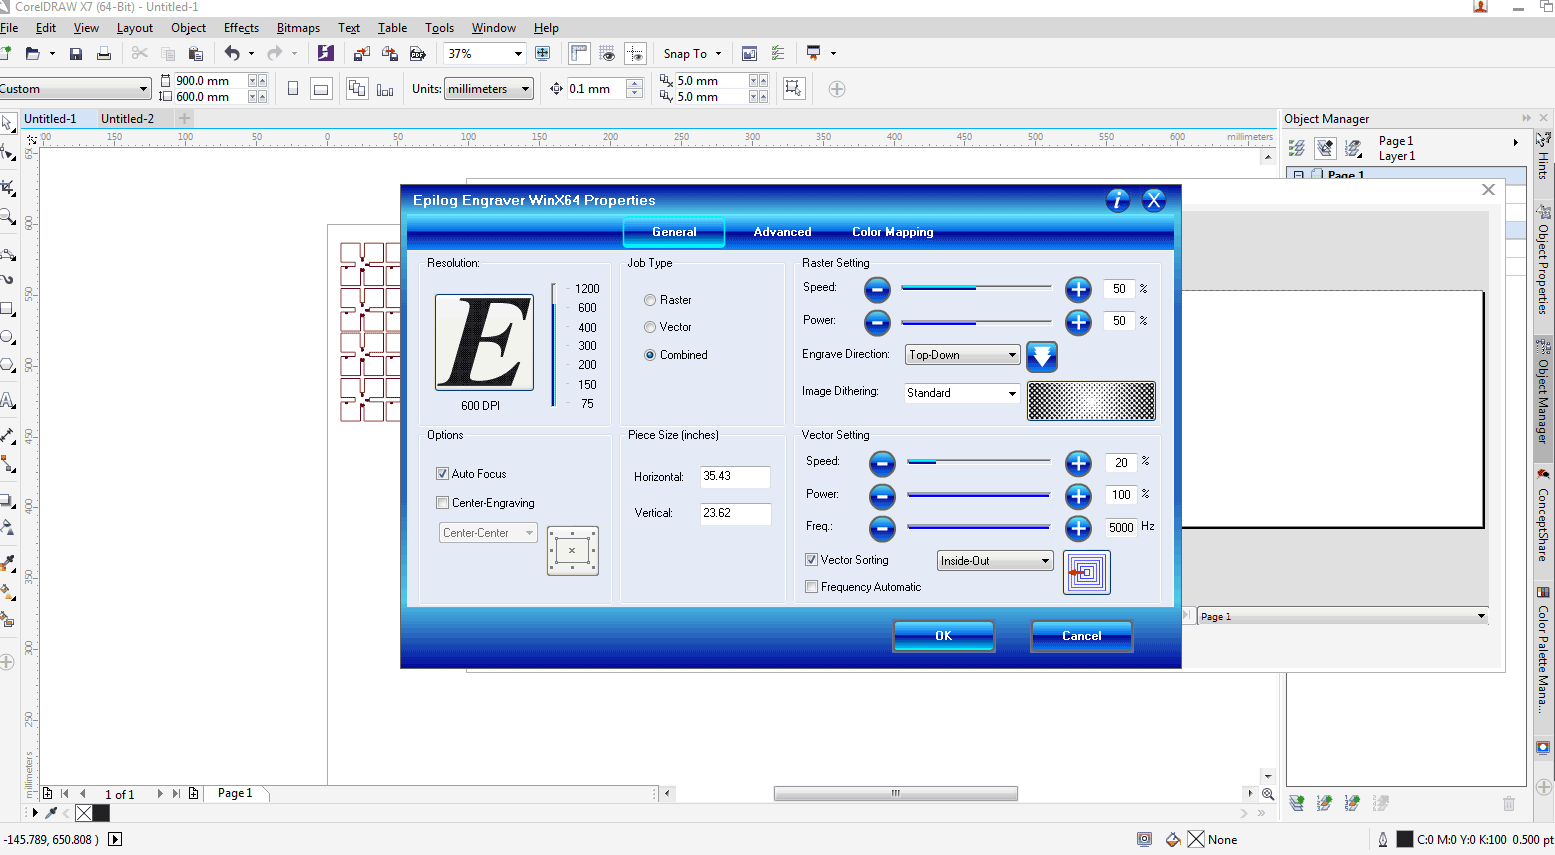
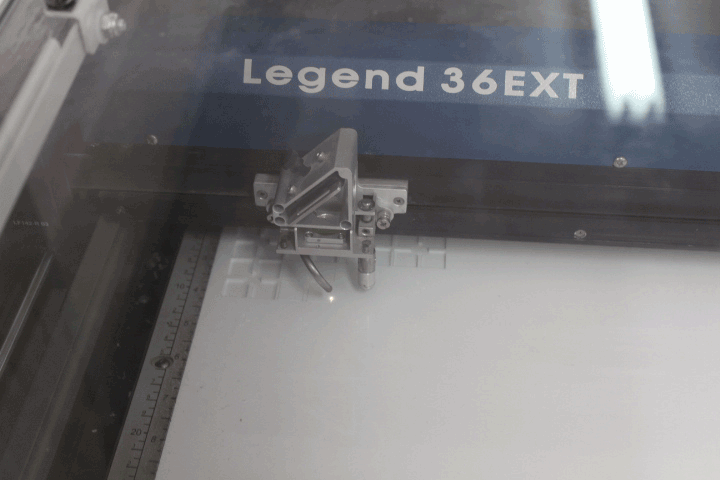
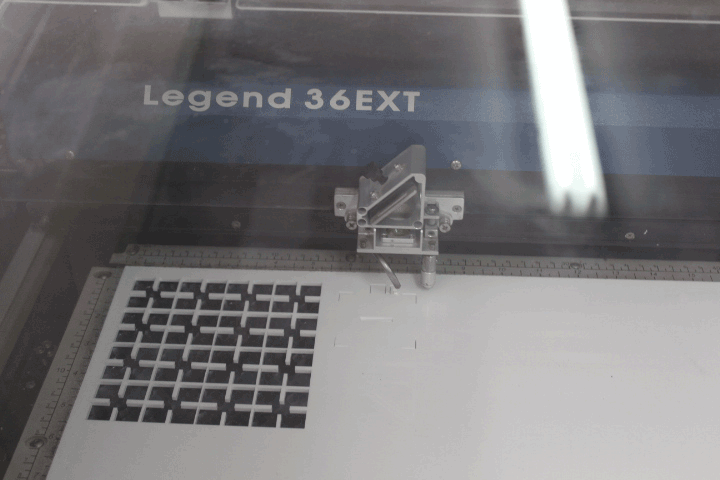
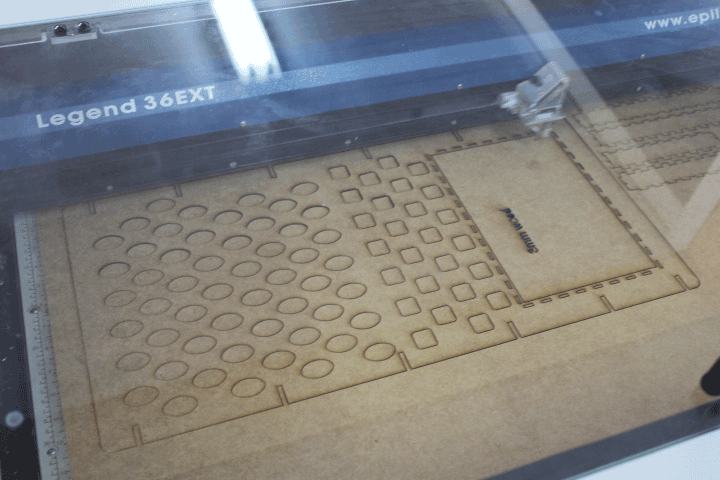
- i used a Epilog 36ext with a 60watt tube (bellow are the settings)
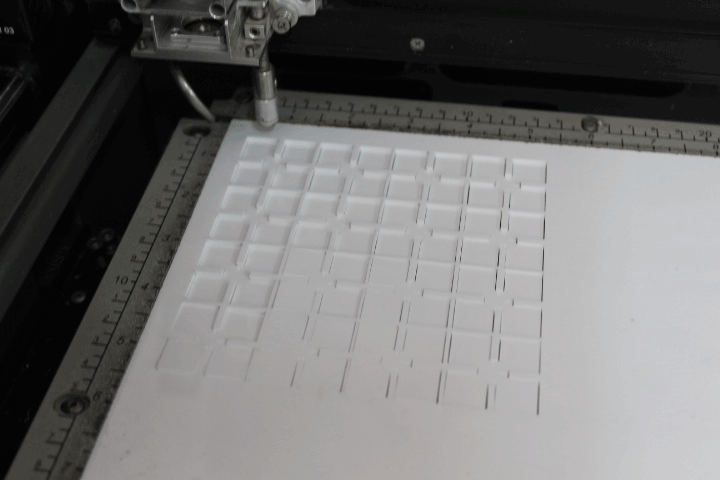
- cutting
3mm acrilic
- finished
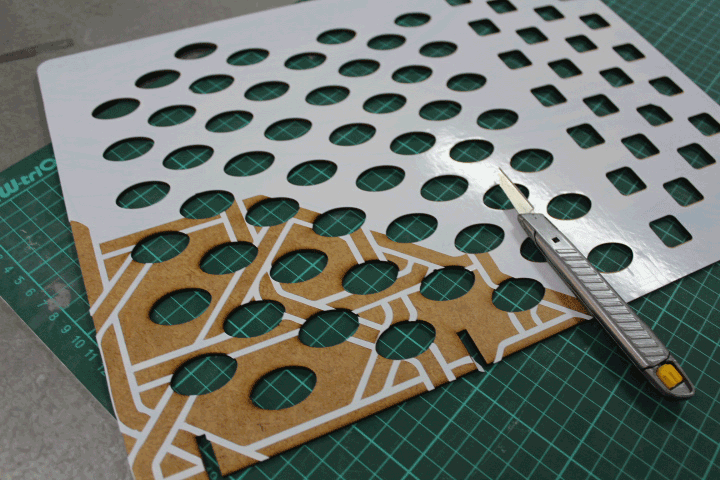
- it is important to think about your cutting list to minimize waste
- my test (findings were that fitting no 2 and 3 were the strongest and most snug fit)
- for my table in my final project i would like to achieve a different kind of snap-fit model made from 3D printed ABS and wood so I used this chance to familiarize myself with this model
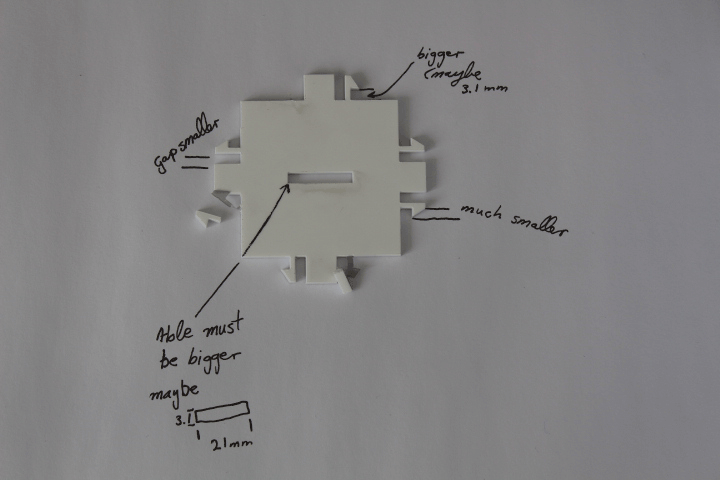
- it did not work because my dimensions were completely wrong
- here I think is why- but if you continue with this page you will soo see why
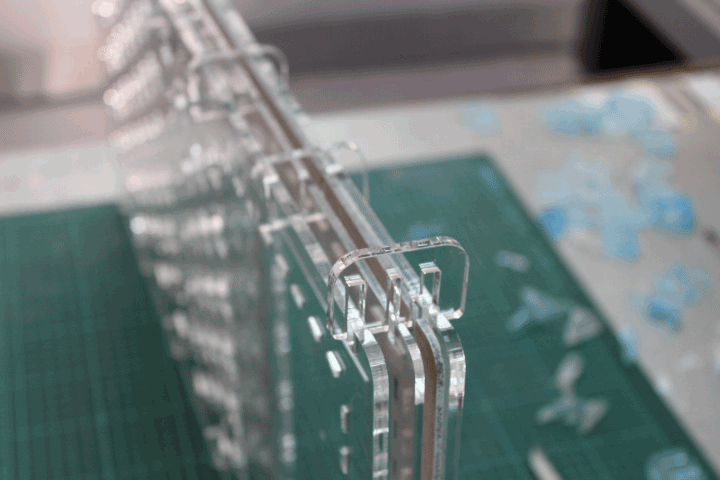
- new model
- if you compare the new model with the old one (i found that this was ideal as the teeth of the snap were to thin and also to long, i found that it is really important to make the teeth about 0.3 bigger than the slot)
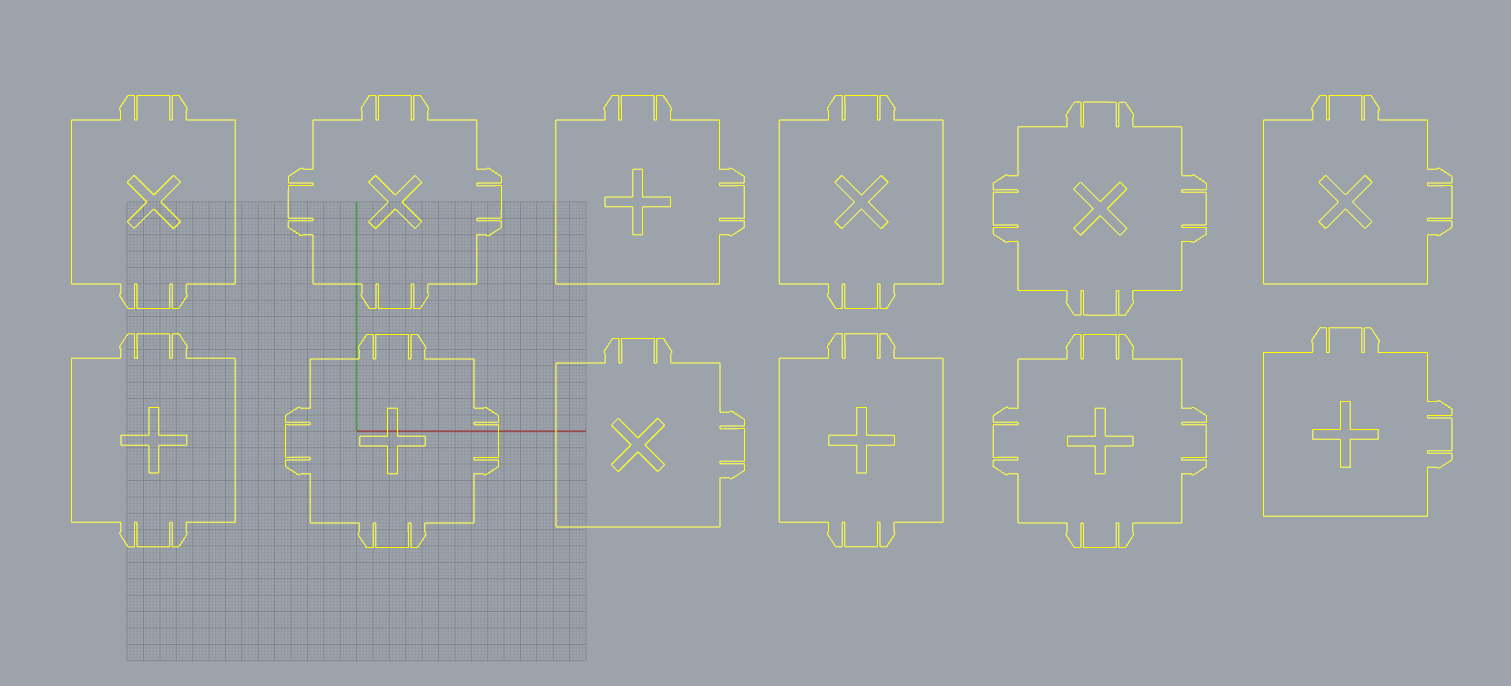
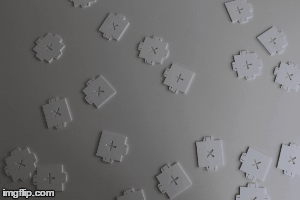
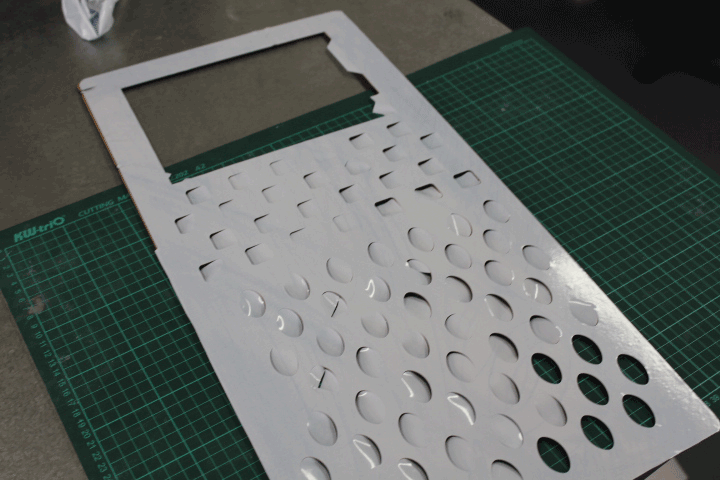
- my different types (i cut them out of the same acrilic sheet with the same cut settings)
 finished
-
- my problem
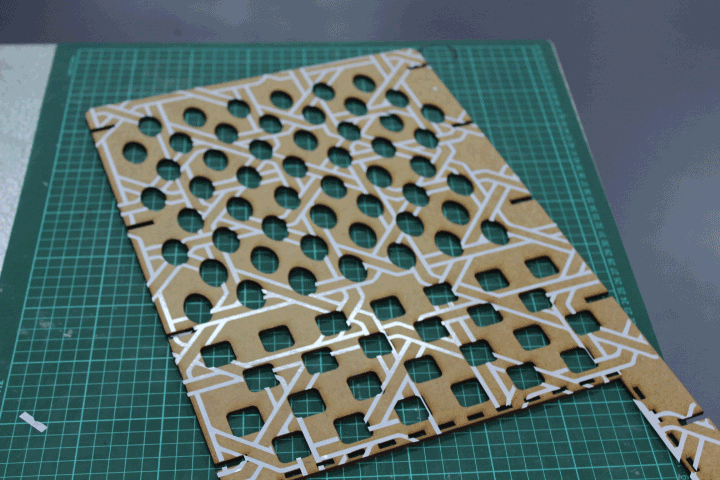
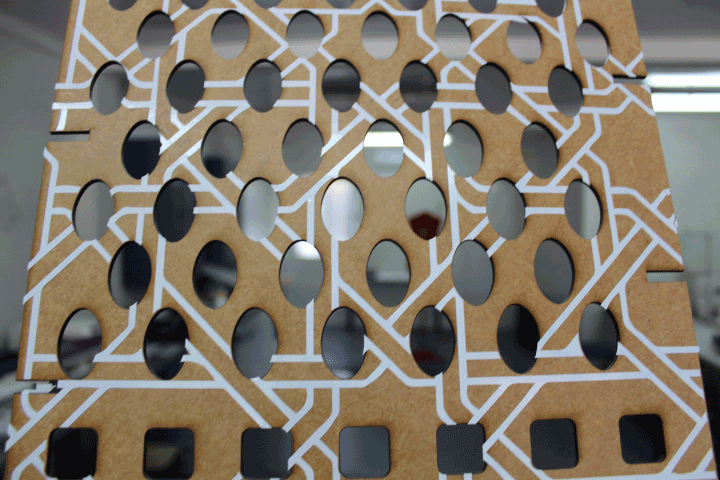
- Laser cut from 3mm wood and clear acrylic (acrilic used was 5mm and 3 mm)
- downloaded a texture from the internet and traced it in Inkscape to be cut from vinyl
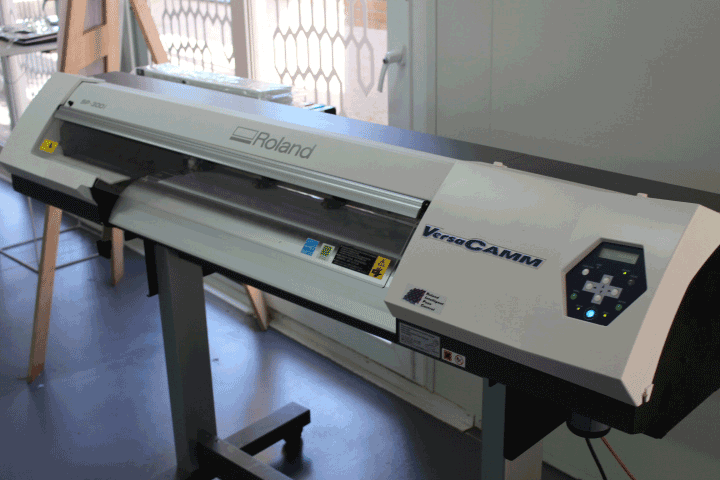
- our vinyl
cutter
- once the vinyl was cut, i used a white board marker and colored in the lines to see them better when working
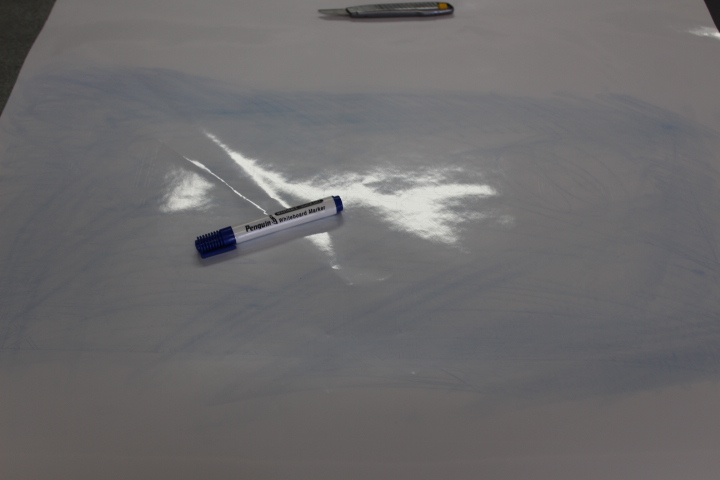
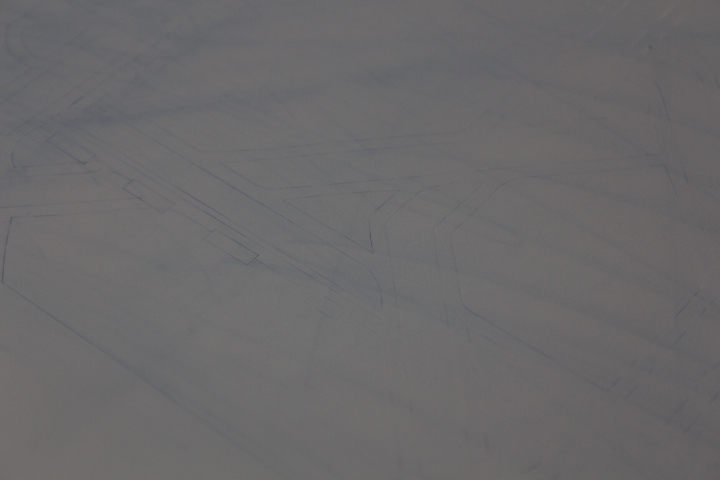
- here you can see the cut lines
- then i carefullf stuch it on the sheet of already laser cut wood (i did need sum help with alignment)
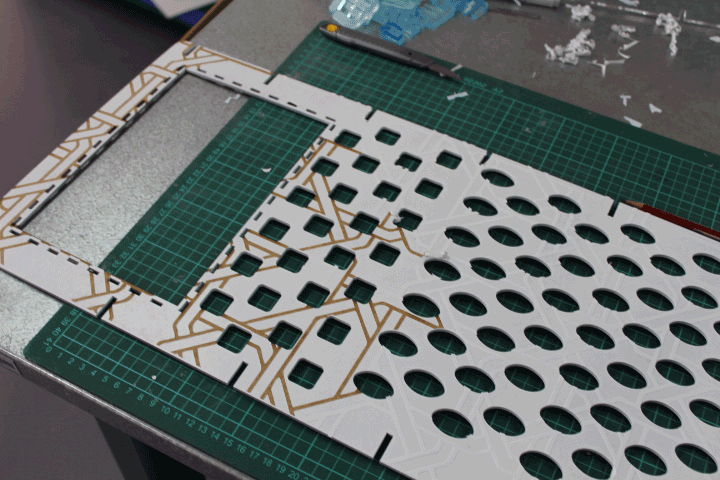
- the tedious work of peeling
- finally done
- i did not like the look of it so i decided to spraypaint the wood white
 and then peel off the vinyl
-
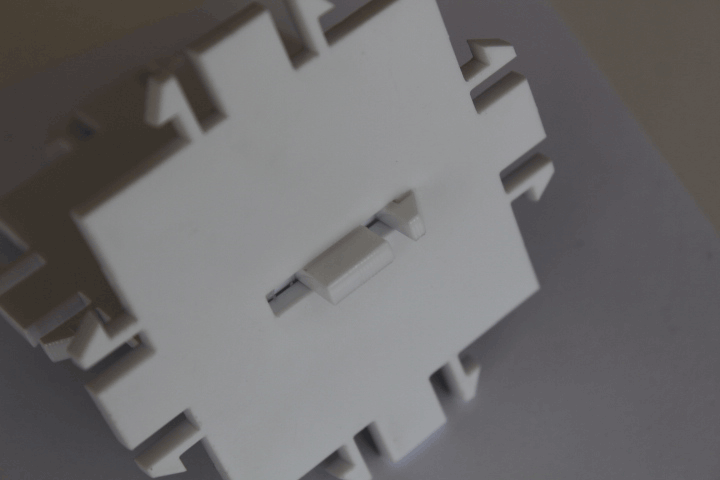
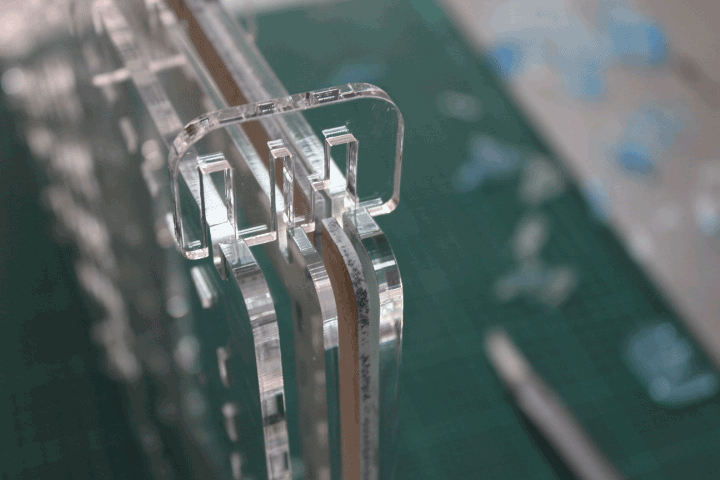
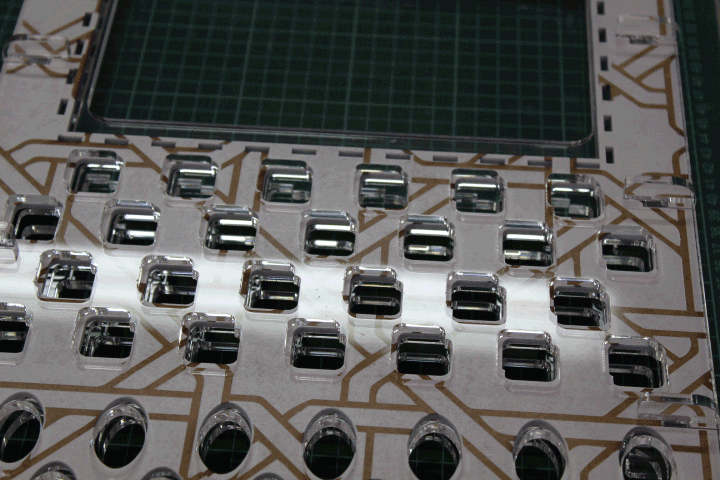
- my snap-fit joint (here you can see that I made a master snap-fit that holds 4 pieces of material: 1 piece of 3mm wood, 2 pieces of 5mm acrilic and 1 3mm acrilic piece)
- adding all the master joints
- done
- my problem solved
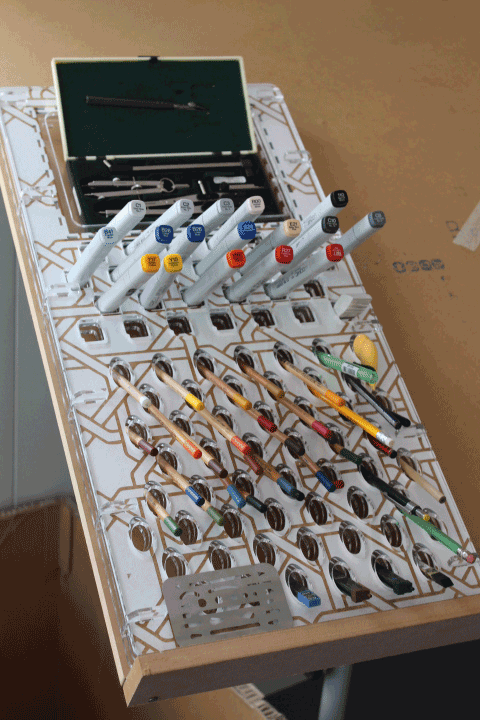
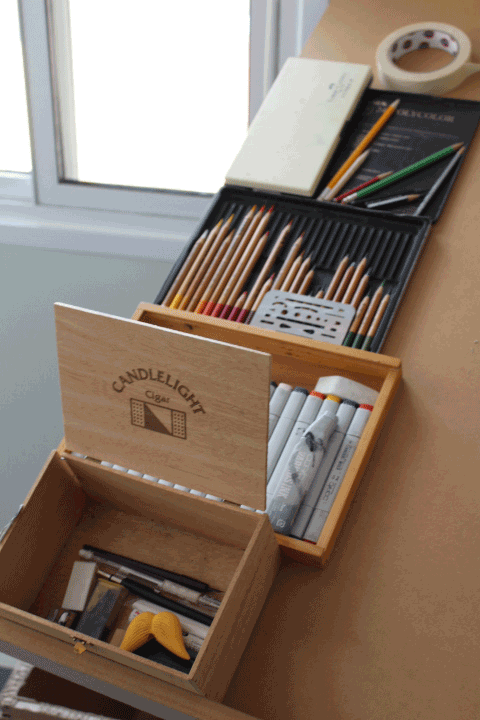
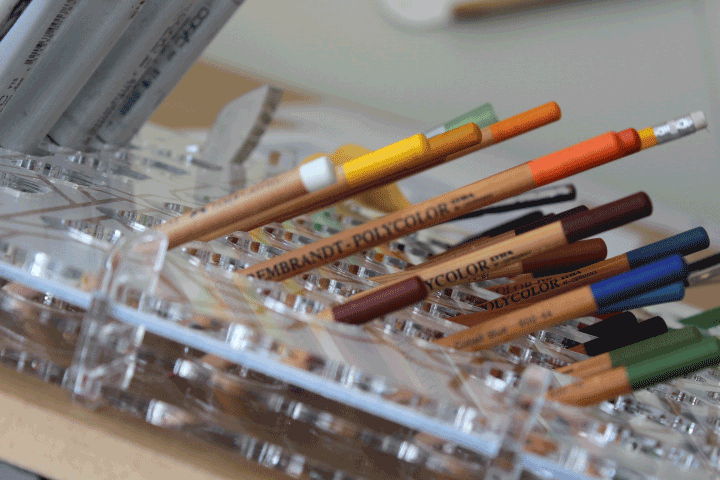
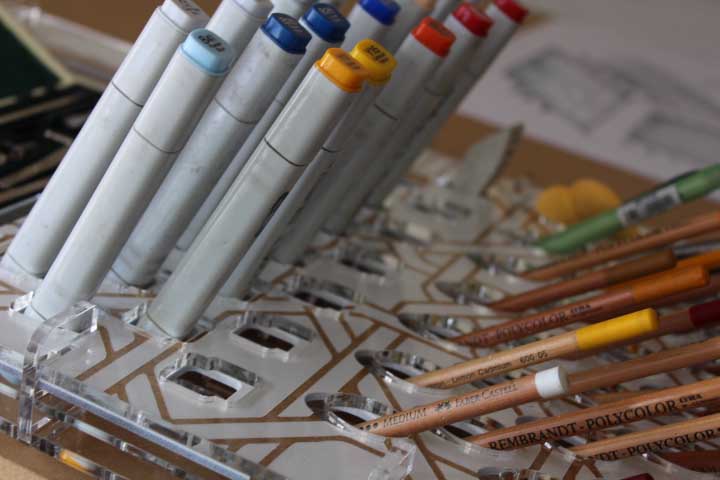
- pencils and pens fit ferfectly
- angle of the copix is also good
small snapfit projects
otherIssues I had and am still having
- I need to do these snap-fit models in Grasshopper as it will get my mind into the world of coding. I plan to use this Tutorial:
https://vimeopro.com/rhino/grasshopper-getting-started-by-david-rutten
If anyone has better tutorials I can follow please be so kind to share.
Downloads
![]() .
.